High Art Quiltspiration: Project Tutorial
Here is how I created the piece inspired by the wood art photo:
The first step I did, was to cut a piece of plain muslin to the size I wanted, and iron Wonder Under to one side of the fabric, then remove the paper side:
I then pulled out all of the fabrics that I thought could work in the piece, using the close up inspriation photo. I used my personal hand dyed fabrics:
The next step, was to just start cutting out shapes that were similar to those in the piece and laying them onto the side of the fabric with wonder under on it (paper removed) I worked on a surface that I can iron on, so I don't have to worry about shifting any pieces moving it to an ironing surface:
Notice that for this particular piece, I rounded all of the corners. The original piece, which is done in drift woods found on the shores of Lake Superior, have soft rounded edges.
From there, I just kept cutting, and adjusting more and more pieces to fit into the spaces that were open:
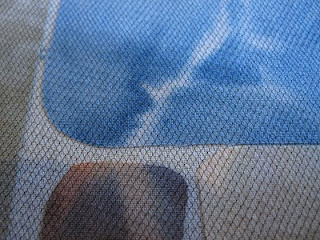
As you can see in the second image above, I left spaces open between the pieces, this is important for the next step, which is to lay tulle netting down on top of the piece:
I use the netting on top, because even though we are going to fuse it down, I want to avoid any of the fraying edges that raw edge applique can leave. In this scenario, that fraying would detract from the visual impact I am trying to accomplish (i.e. driftwood doesn't generally look frayed!)
Then I lay a pressing sheet over the whole thing, in this case I used cheap parchment paper:
Then I ironed it for several minutes, gently rubbing the iron back and forth. I use slightly lower than cotton setting, and no steam (but your iron may vary, test with some scraps if you've never used Wonder Under before.) This is why leaving that space between the "wood pieces" was important, it's now going to also adhere the tulle to the piece also.
Then the quilting begins! I simply free motioned this piece, using different threads to do the wood grain quilting:
Then I went back, and started with black thread, and began quiting around each "wood block" and filling in those white spaces inbetween to give it a sketched look:
Here is the outcome:
The last image above, is a close up of one of the "wood blocks", notice how I used the mottling in the hand dyed fabric, to give me an interested quilt echo area, that mimics wood grain!
As always, we would love for you to share any pieces you make using our tutorials or project ideas here at Fiber Nation! If you would like to see your piece featured on The Fiber Nation, send us an email at thefibernation@gmail.com with a picture of your project, and let us know which tutorial or project inspired your piece!


